Searching for Students
The Search for Student & Request SSID functionality provides authorized users the ability to perform a search for an existing student in the ODS or request an SSID if no matching results are found. The functionality is found in the Student Data Maintenance page which is the default landing page when a user clicks on the Student Data link from the lefty navigation menu.
User Access Role
- Student Search Role
The Student Search functionality allows a user to:
-
Manage the search criteria data by modifying the submitted data, by applying filters or by modifying the view
-
View key elements and select a student name in the search results section to view additional details of an existing student the system identified as a possible match
-
Avoid creating students with Multiple Identifier (MID) by showing 100% matches*
-
Modify the number of records displayed when there are more than 10 results
-
Manipulate the sort order of the returned records in the search results
-
Navigate to selected pages when there is more than one page of results
The are 3 search options users can utilize:
-
Search by SSID
-
Search by Demographics/ Request SSID
-
Search by Enrollment
Search Student by SSID
Users have 2 ways to search by SSID:
Search SSID through Search Field
This functionality allow search for a student record matching a complete and valid SSID through the SSID Search field located in the Left Navigation pane.
Step 1. Enter a valid 10-digit Statewide Student Identifier (SSID) in the SSID Search field located on the Left Navigation pane and then click on the green arrow button to execute search.

Step 2. If a Valid SSID is entered, the user will be directed to the student detail page where users can add or edit aspects of the student record.

Possible Validation Error Messages
If the SSID is less than 10 digits, users will remain on the same screen, as the system will only execute a search with 10 digits.
If the SSID is 10 digits but is not a valid SSID a "No match was found" error will trigger.
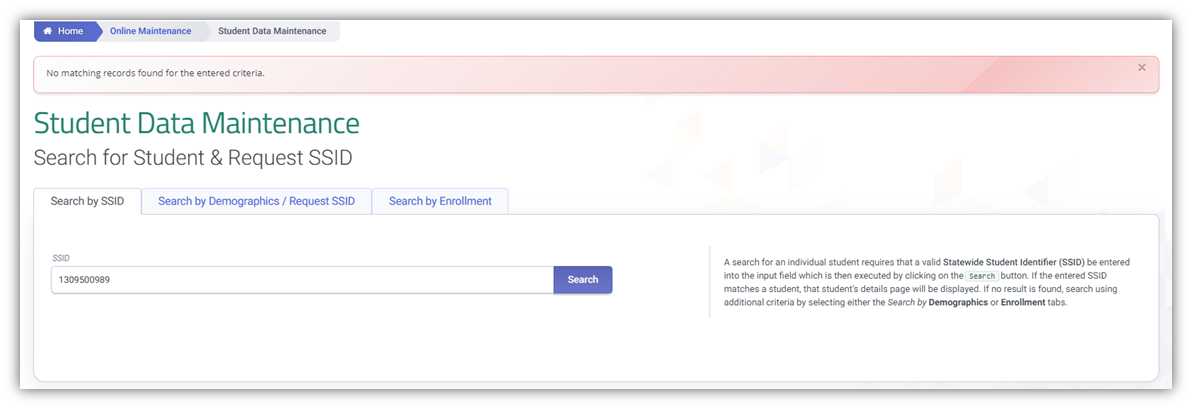
Note: If no result is found, try searching by Demographics or Enrollment.
Search SSID through Student Data Maintenance
This functionality allow search for a student record matching a complete and valid SSID through the Student Data Maintenance.
Step 1. Click on Online Maintenance from the Left Side Navigation Menu. Click on Student Data Maintenance.
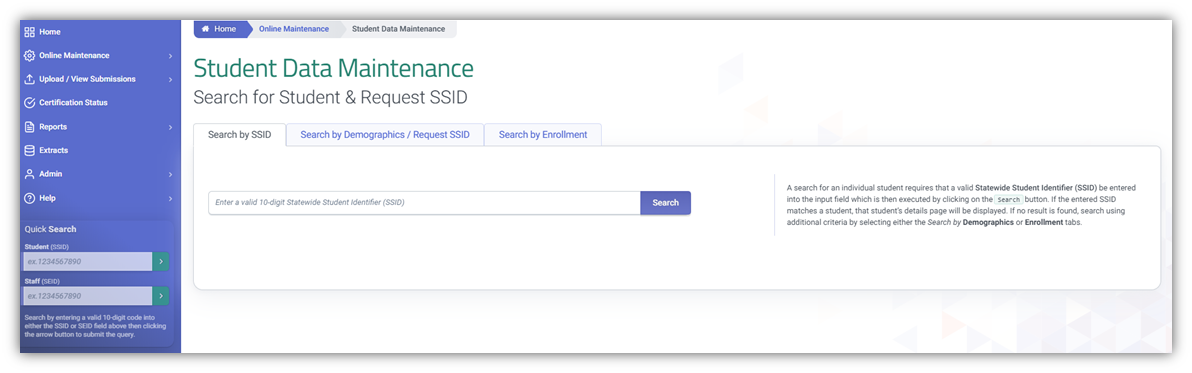
Step 2. Enter a valid 10-digit Satewide Student Identifier (SSID) in the SSID Search field.
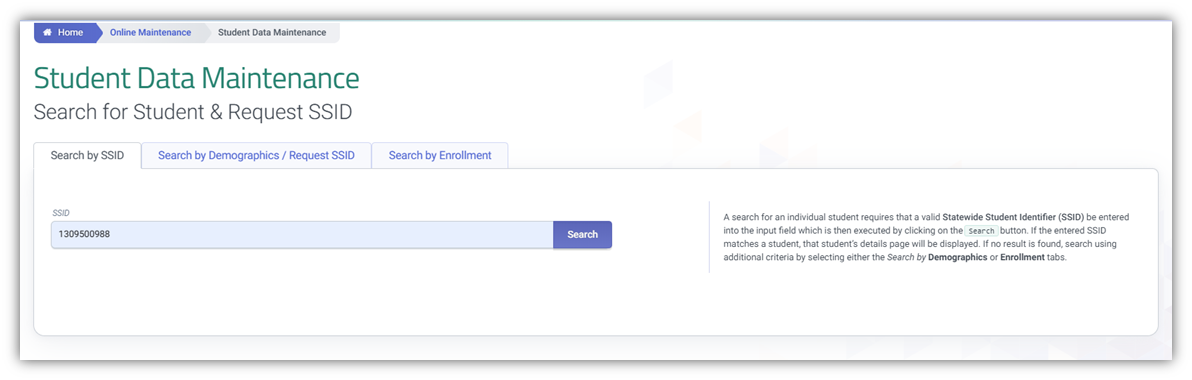
Step 3. If a Valid SSID is entered, the user will be directed to the student detail page where users can add or edit aspects of the student record.
Possible Validation Error Messages
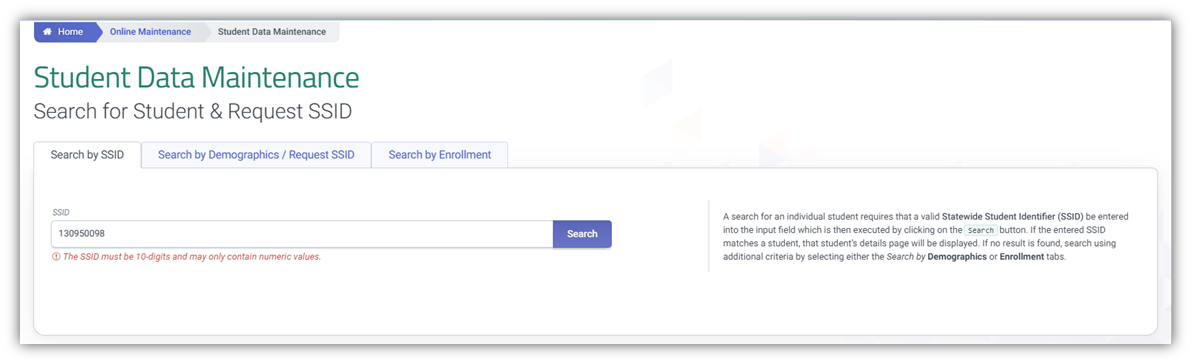
If the SSID is less than 10 digits, users get this message.
If the SSID is 10 digits but is not a valid SSID a "No match was found" error will trigger.
Note: If no result is found, try searching by Demographics or Enrollment.
Search by Demographics/ Request SSID
This functionality allows a search for all student records matching the the provided student demographic information. There are two options in Search by Demographics.
-
Student Lookup
-
Request SSID
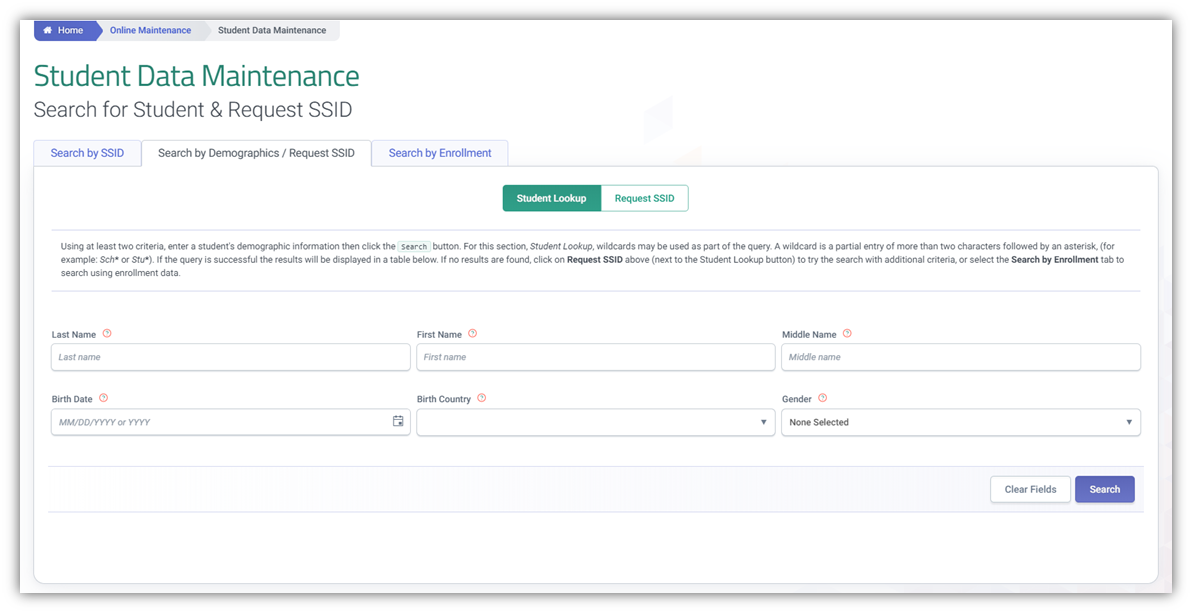
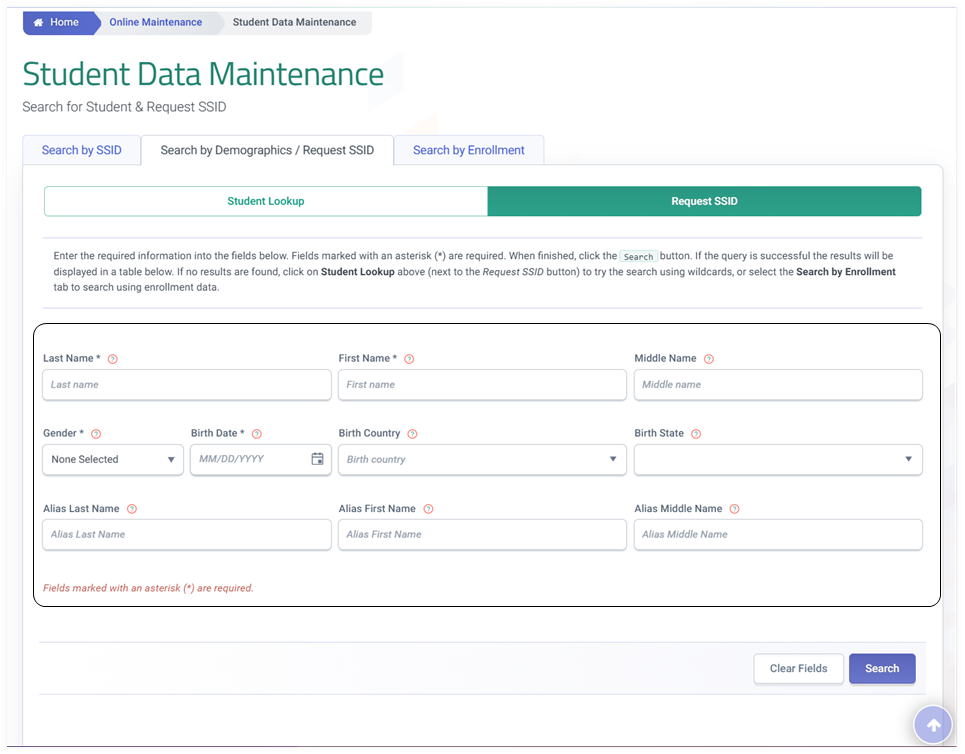
Student Lookup Tab
This option should be used if searching for an existing student but SSID is NOT available.
Search Tips
-
At least 2 search criteria should be populated to perform a search.
-
Users can do a wildcard search by adding an (*) asterisk after the first few letters of a search parameter.
-
Populating additional search criteria, further narrows search results. Any results found is listed in a table below the search section.
Step 1. Click on Online Maintenance from the Left Side Navigation Menu. Click on Student Data Maintenance. Click on the Search by Demographic Tab.
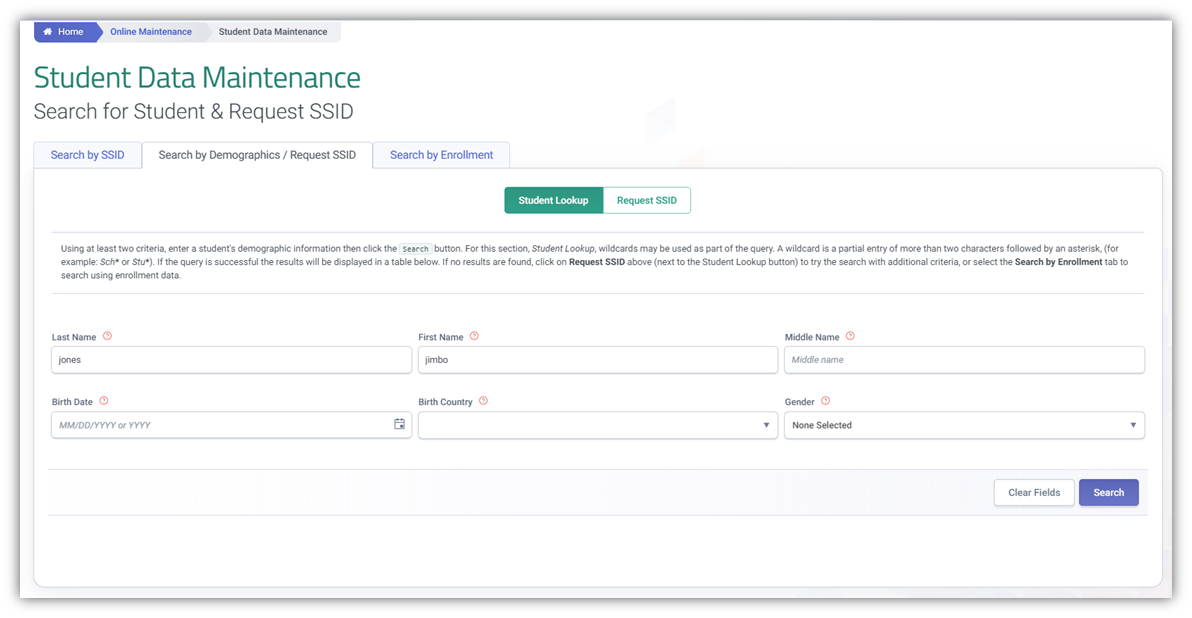
Step 2. Populate at least 2 search criteria and then click on the Search button.
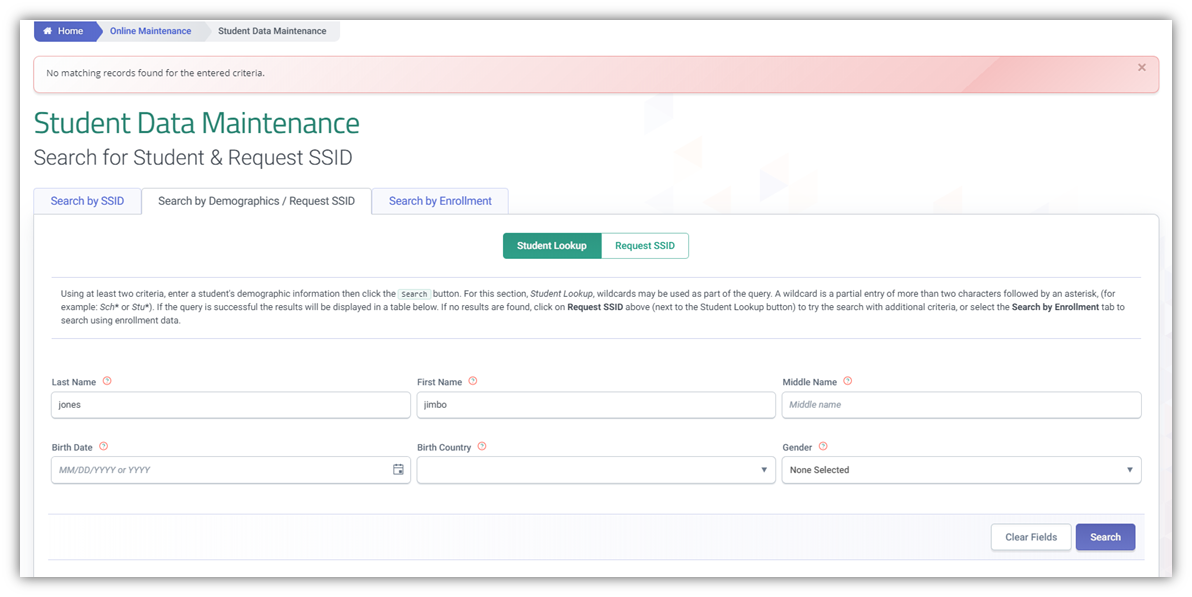
Step 3. If populated parameters do not bring back a match, users will see this error.
Step 4. If populated parameters bring back a match, the results are listed below the search fields. Choose and click on the student name of the possible match.
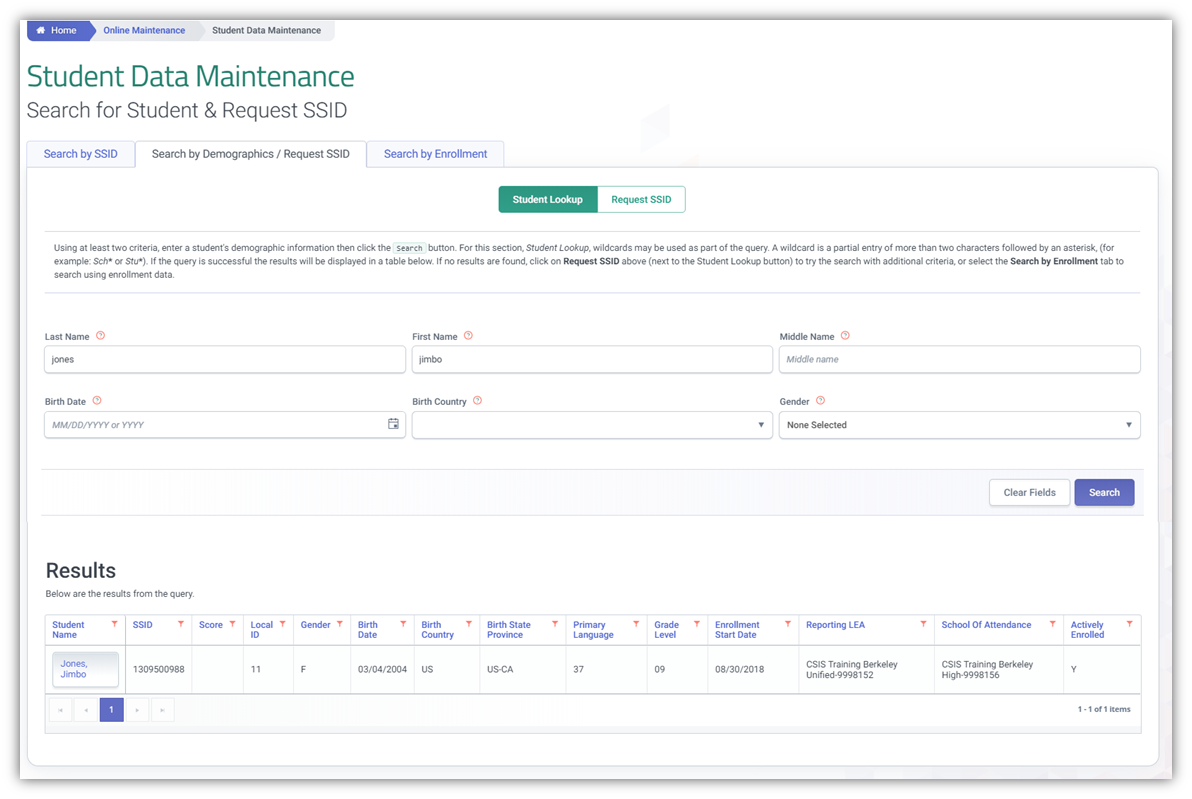
Step 5. When the student's name of the possible match is clicked, are directed to the student detail page where records can be added or edited.
Request SSID Tab
This option should be used if any of teh following conditions below are met:
-
SSID is NOT available but have intention of reporting student enrollment the first time
-
Student is brand new and enrolling the first time in CA schools.
Search Tips
The following fields are required to be populated.
-
Last Name
-
First Name
-
Gender
-
Birth Date
Note: Unlike the Student Lookup tab, users CANNOT do a wildcard search since the demographic information populated will be used when the search results to requesting a new SSID.
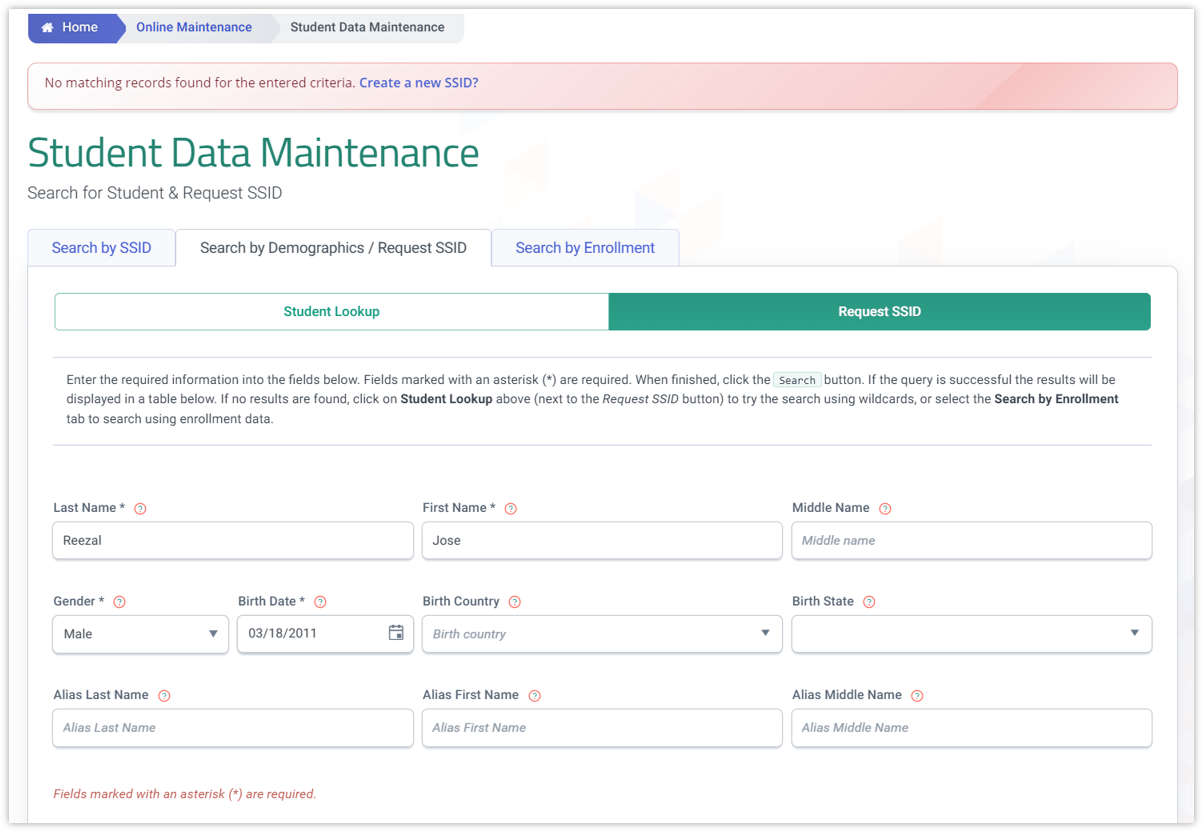
Step 1. Click on Online Maintenance from the Left Side Navigation Menu. Click on Student Data Maintenance. Click on the Search by Demographic tab and then click on Request SSID button.
Step 2. Populate at least the required fields and then click on the Search button.
Note: The wildcard search functionality will not work in Request SSID. Users must populate the exact information in the search fields.
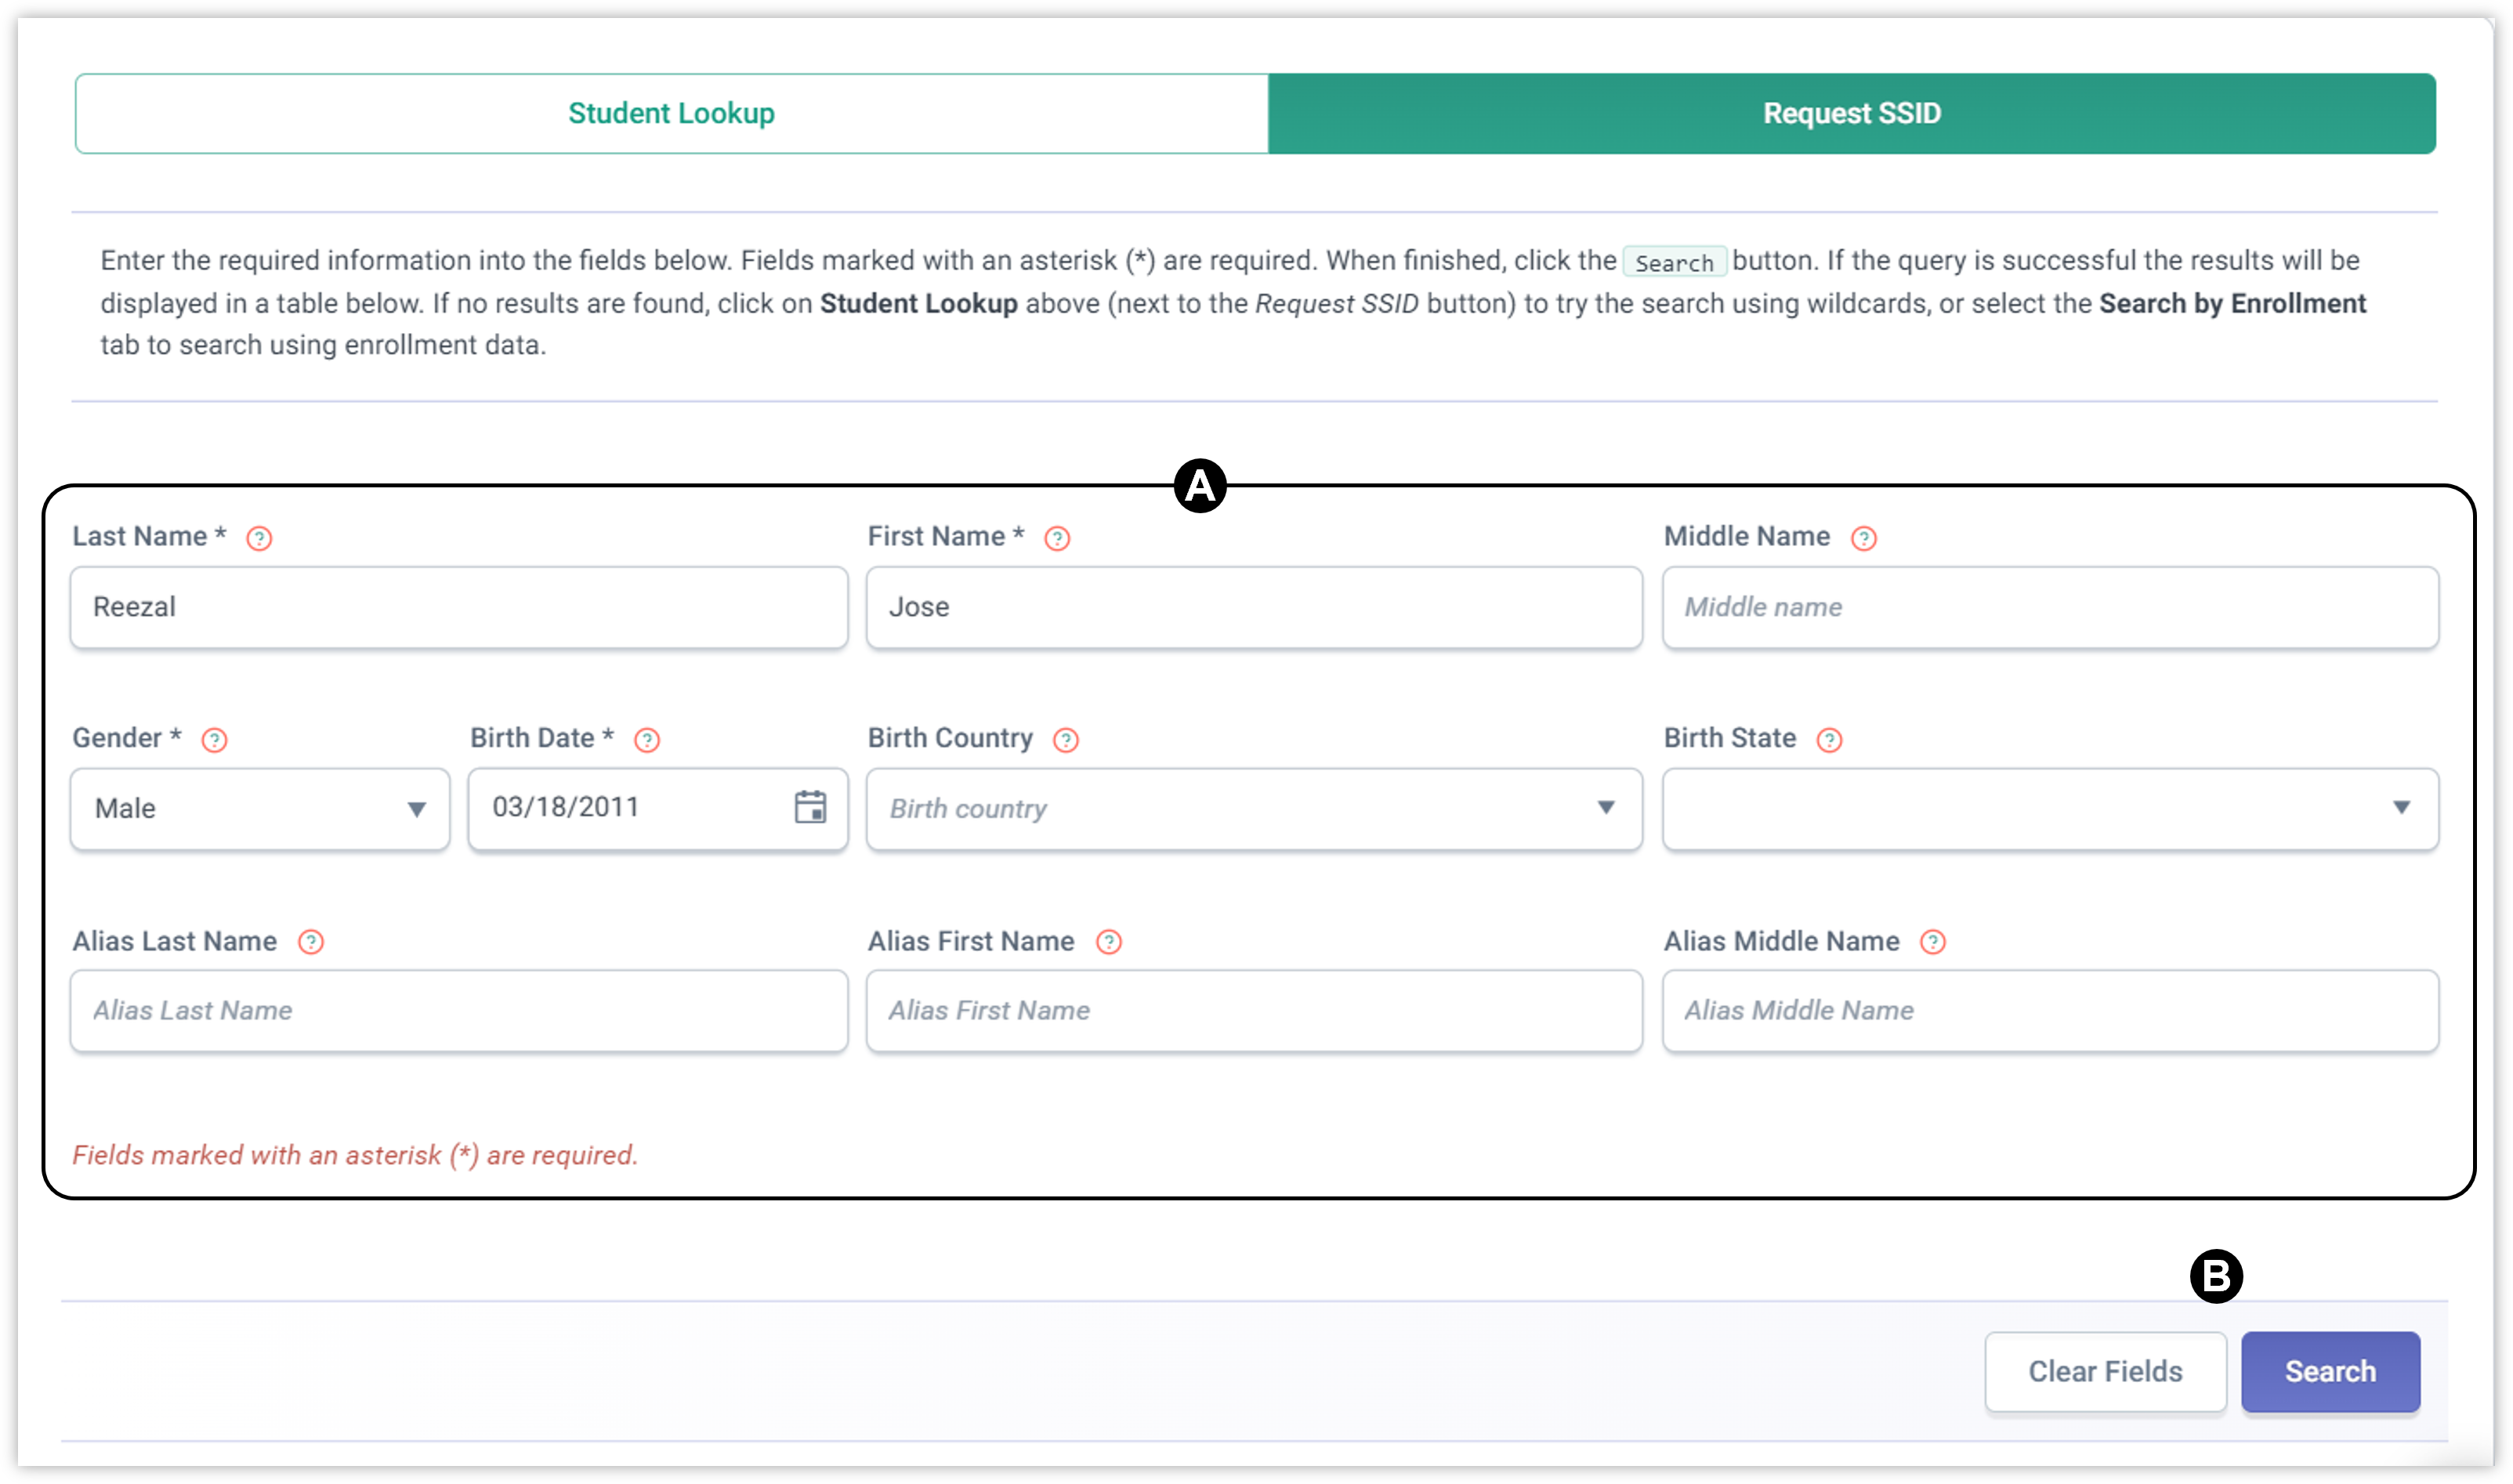
Step 3. If populated parameters do not bring back a match, users will be notified that no match was found and a link to create a SSID is available to click on as a suggested option.
Step 4. If populated parameters bring back a match, the results are listed below the search fields. Choose and click on the student name of the possible match. If the results do not bring up the desired match, the user can click the Create a new SSID link if they wish to create a new unique SSID.
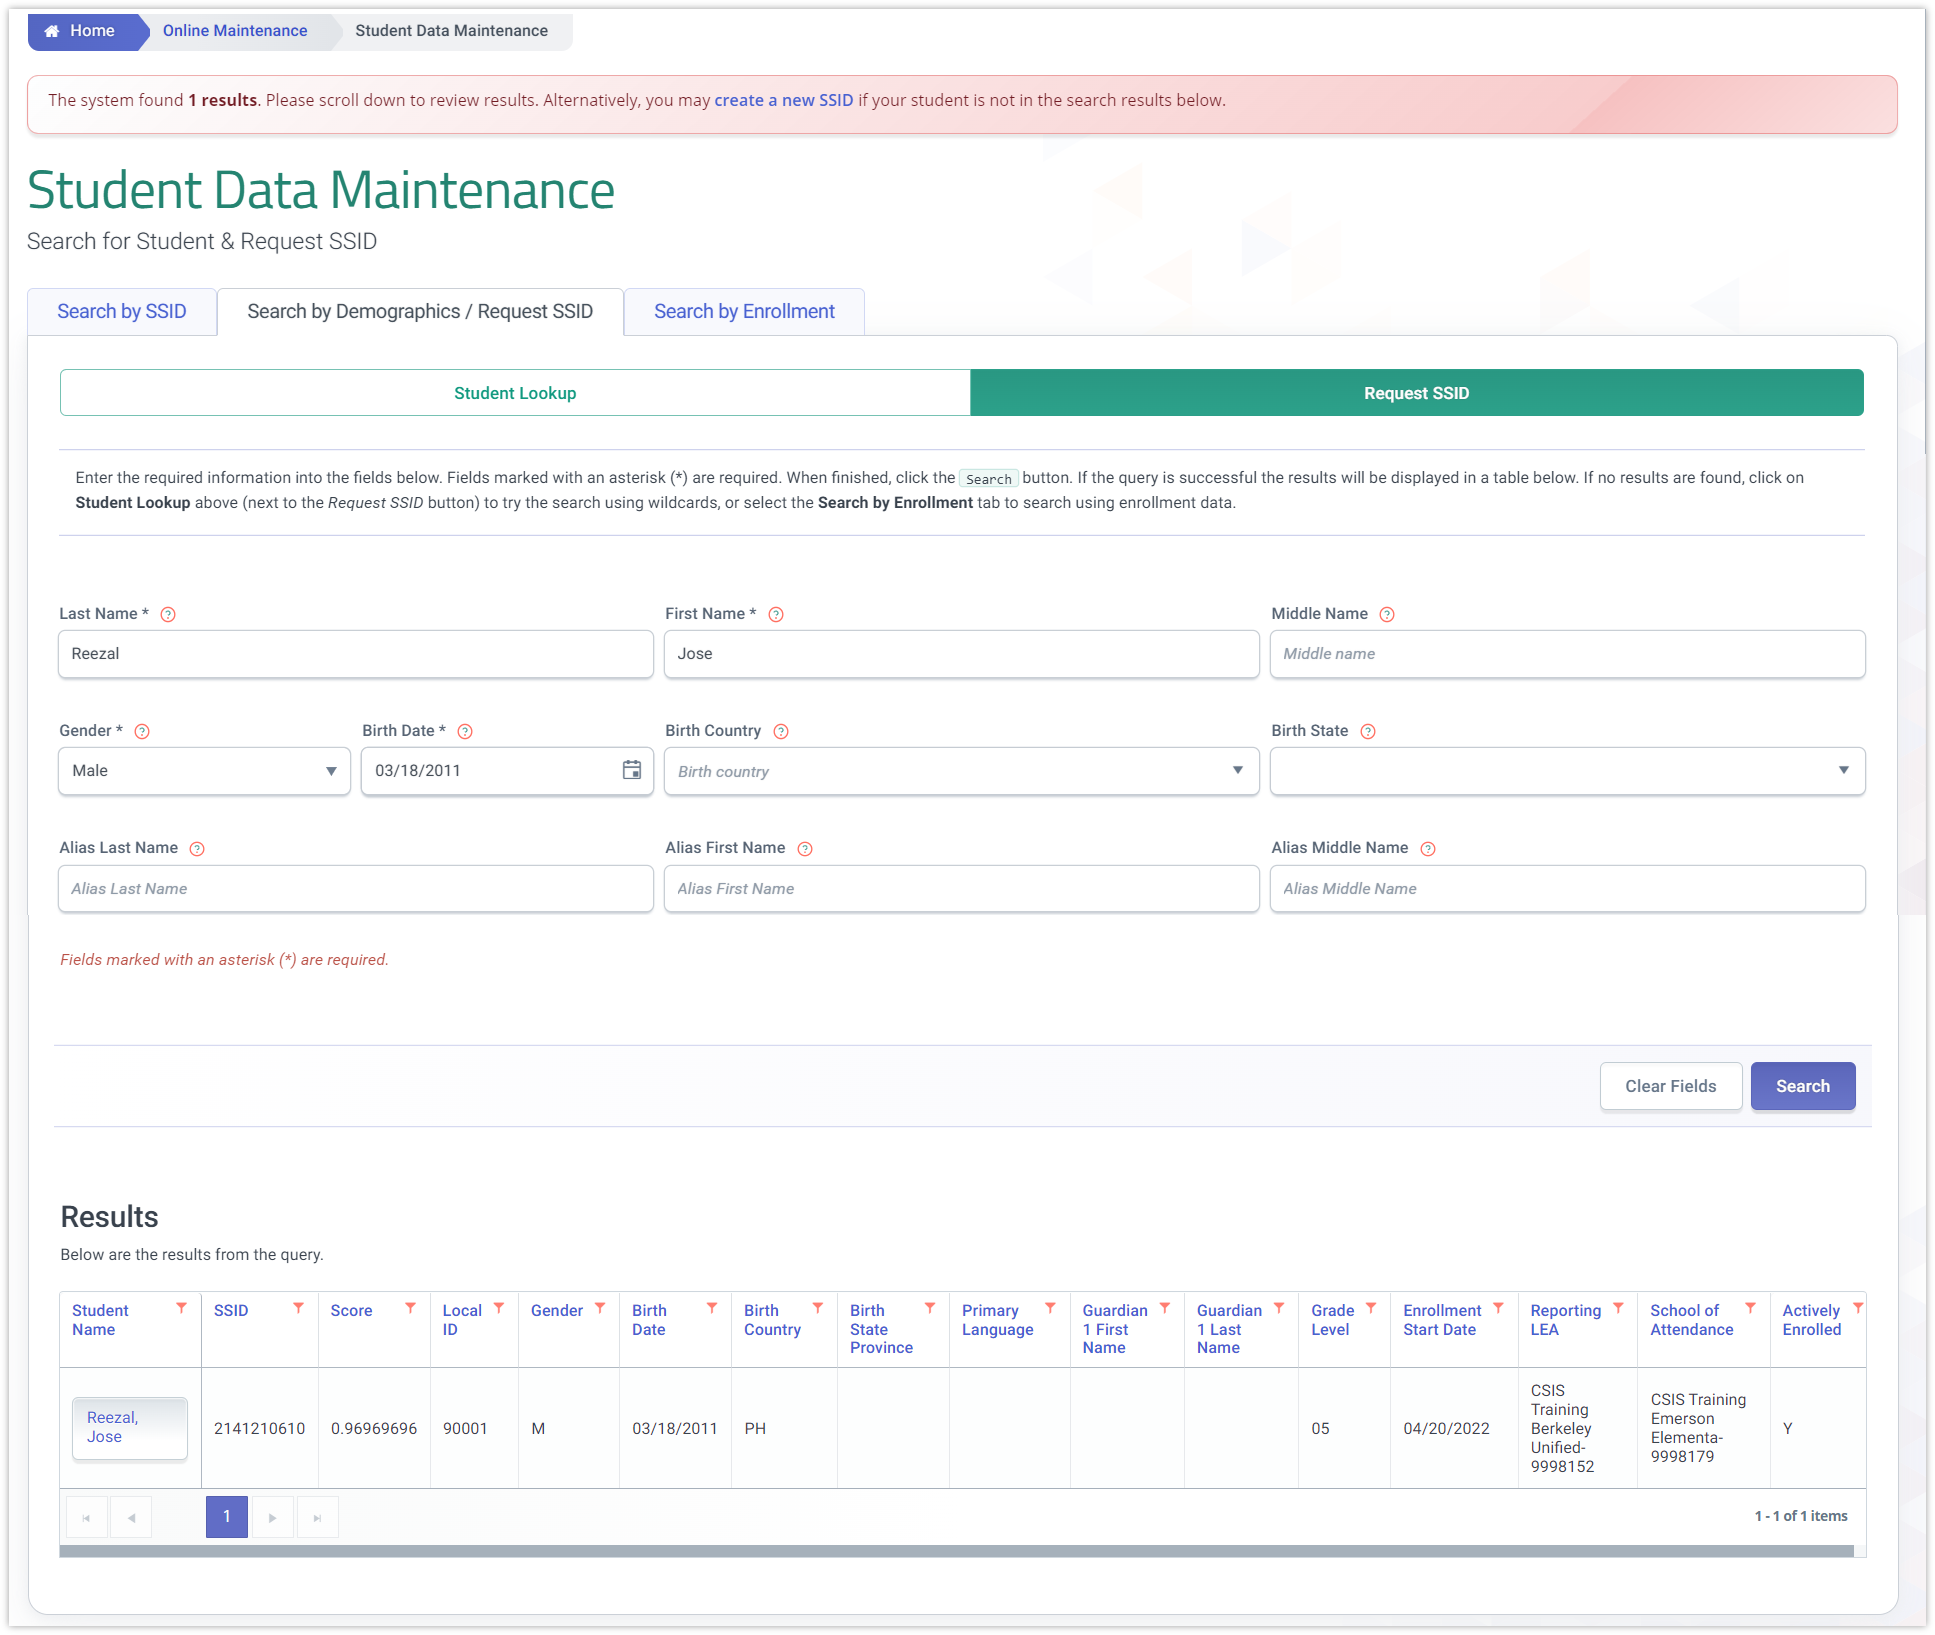
Step 5. When the student name of possible match is clicked, users are directed to the student detail page where records can be added or edited.
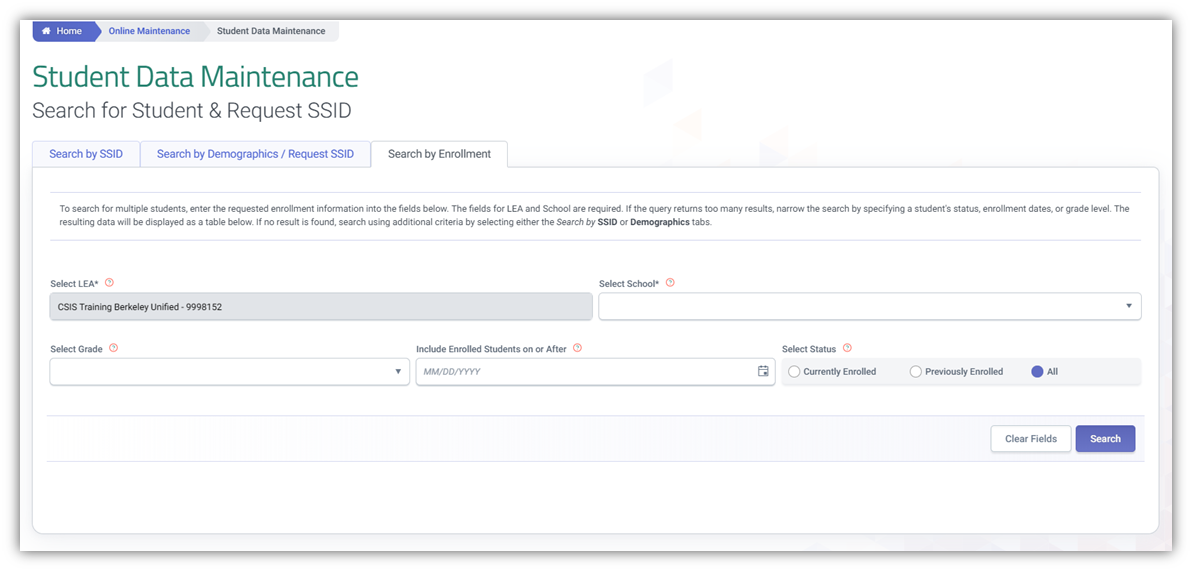
Search by Enrollment
The Search by Enrollment tab enables an authorized user to search and view an individual or group of students either currently enrolled and/or previously enrolled students in the user’s LEA. It displays when the user selects the Search by Enrollment tab from the Student Data Maintenance page. It is important to note that this functionality should not be used to generate a list of enrolled students. The ODS extracts as well as the reports are available for that purpose.
Users will need to ensure that, at the minimum, the Reporting LEA and School of attendance fields are populated.
-
To use the Select School filter , click on the dropdown menu option and select the school. Users can only select one school at a time to avoid exceeding the maximum result threshold.
-
To use the Select Grade filter option, select a grade from the dropdown list or leave the field blank to include all grade levels.
-
To use the Include Students on or after Specified Date filter option, enter a date in the MM/DD/YYYY format or select a date using the calendar icon.
-
To use the Select Status filter option, select one of the following radio buttons:
-
Currently Enrolled
- Previously Enrolled
- All
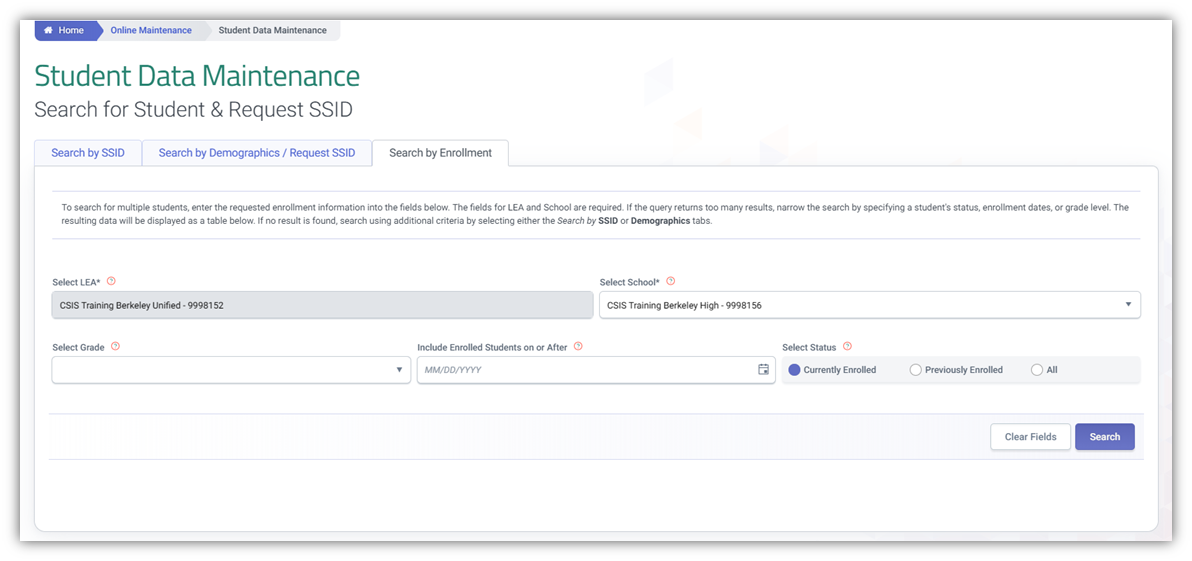
Step 1. Click on Online Maintenance from the Left Side Navigation menu. Click on Student Data. Click on the Search by Enrollment tab.
Step 2. Set the parameters for the search. Users will need to ensure that, at the minimum, the School of attendance field is populated. However, It is encouraged to use more parameters to narrow down the results.
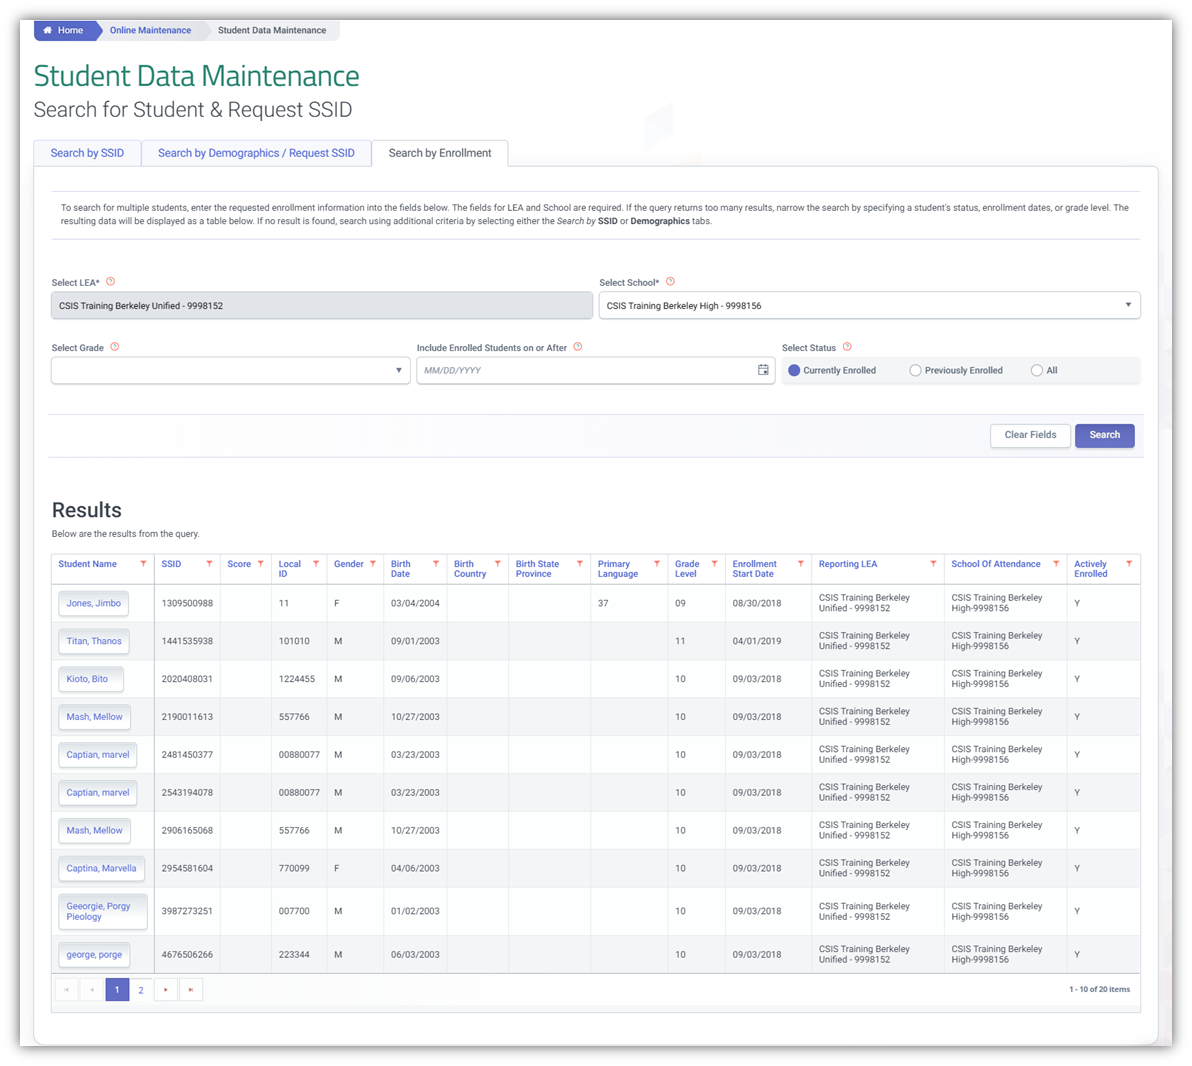
Step 3. Based on the user selected filter criteria, a list of students is displayed at the bottom half of the screen. The top half of the screen also allows for modification of the filter criteria.
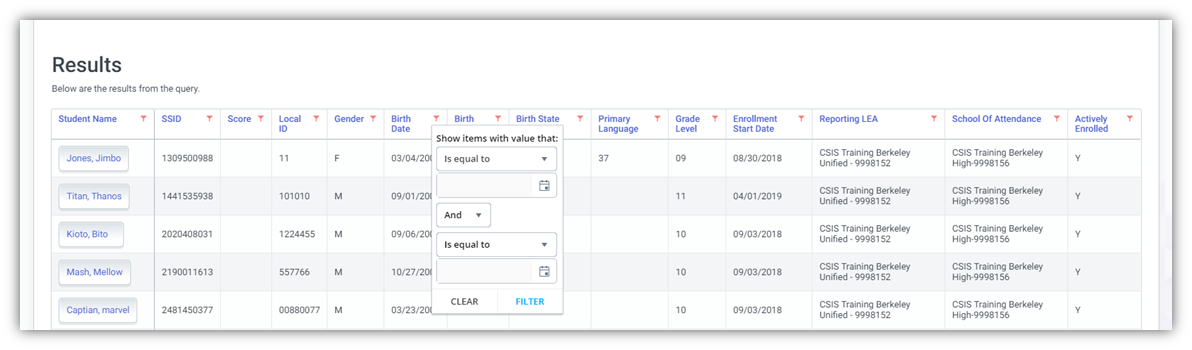
Once the list is produced, the user may refine the list further by clicking on the filter icon beside the column header and set the parameter filter rules.
Step 4. When the student name of possible match is clicked, are directed to the student detail page where records can be added or edited.